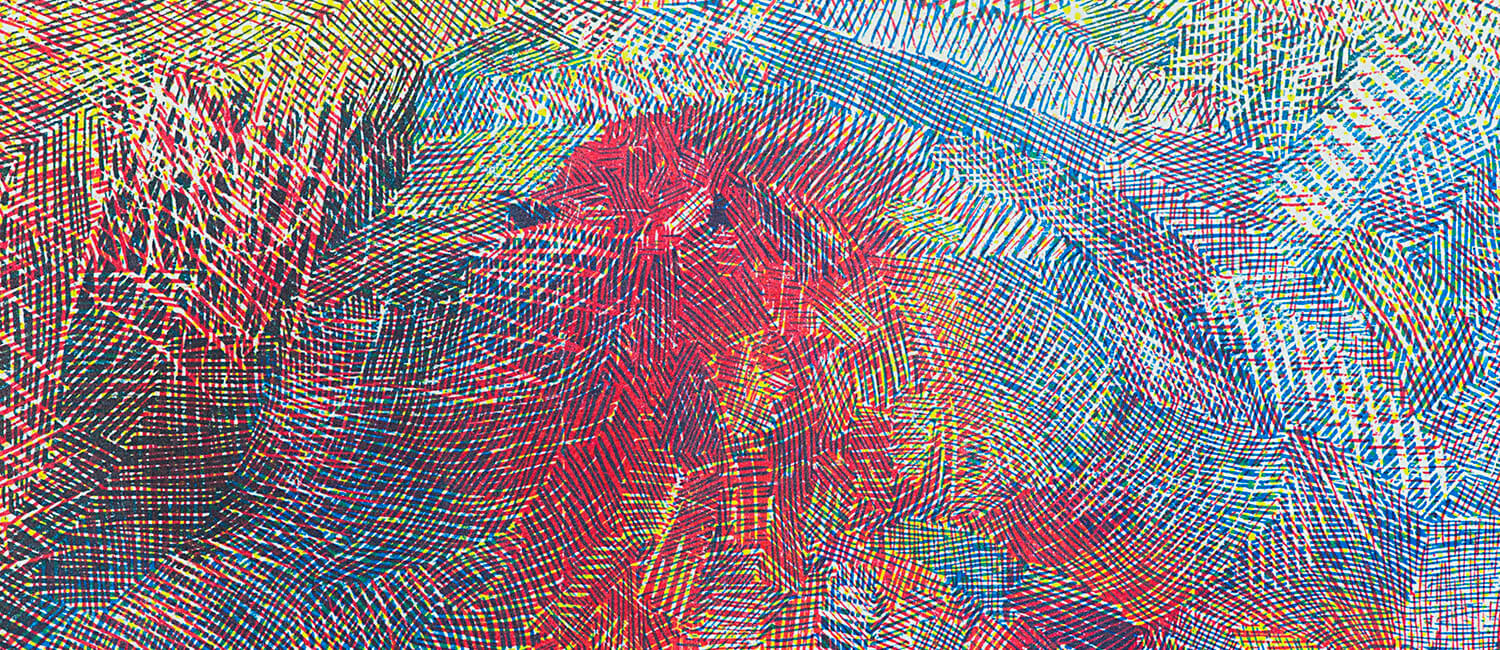
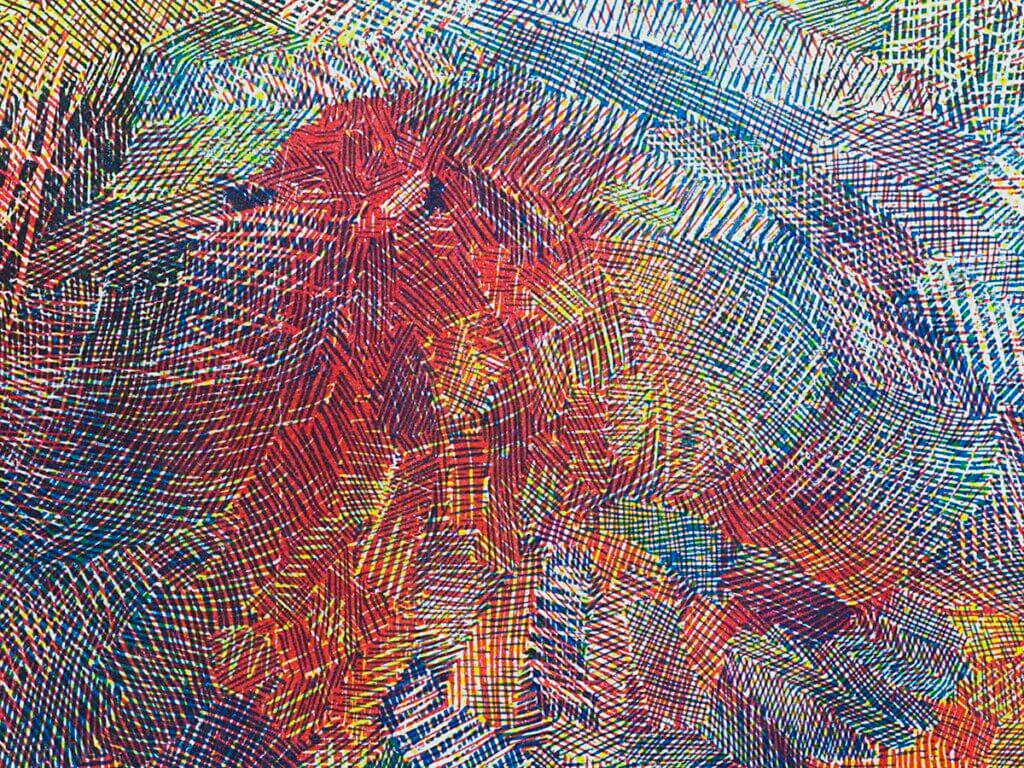
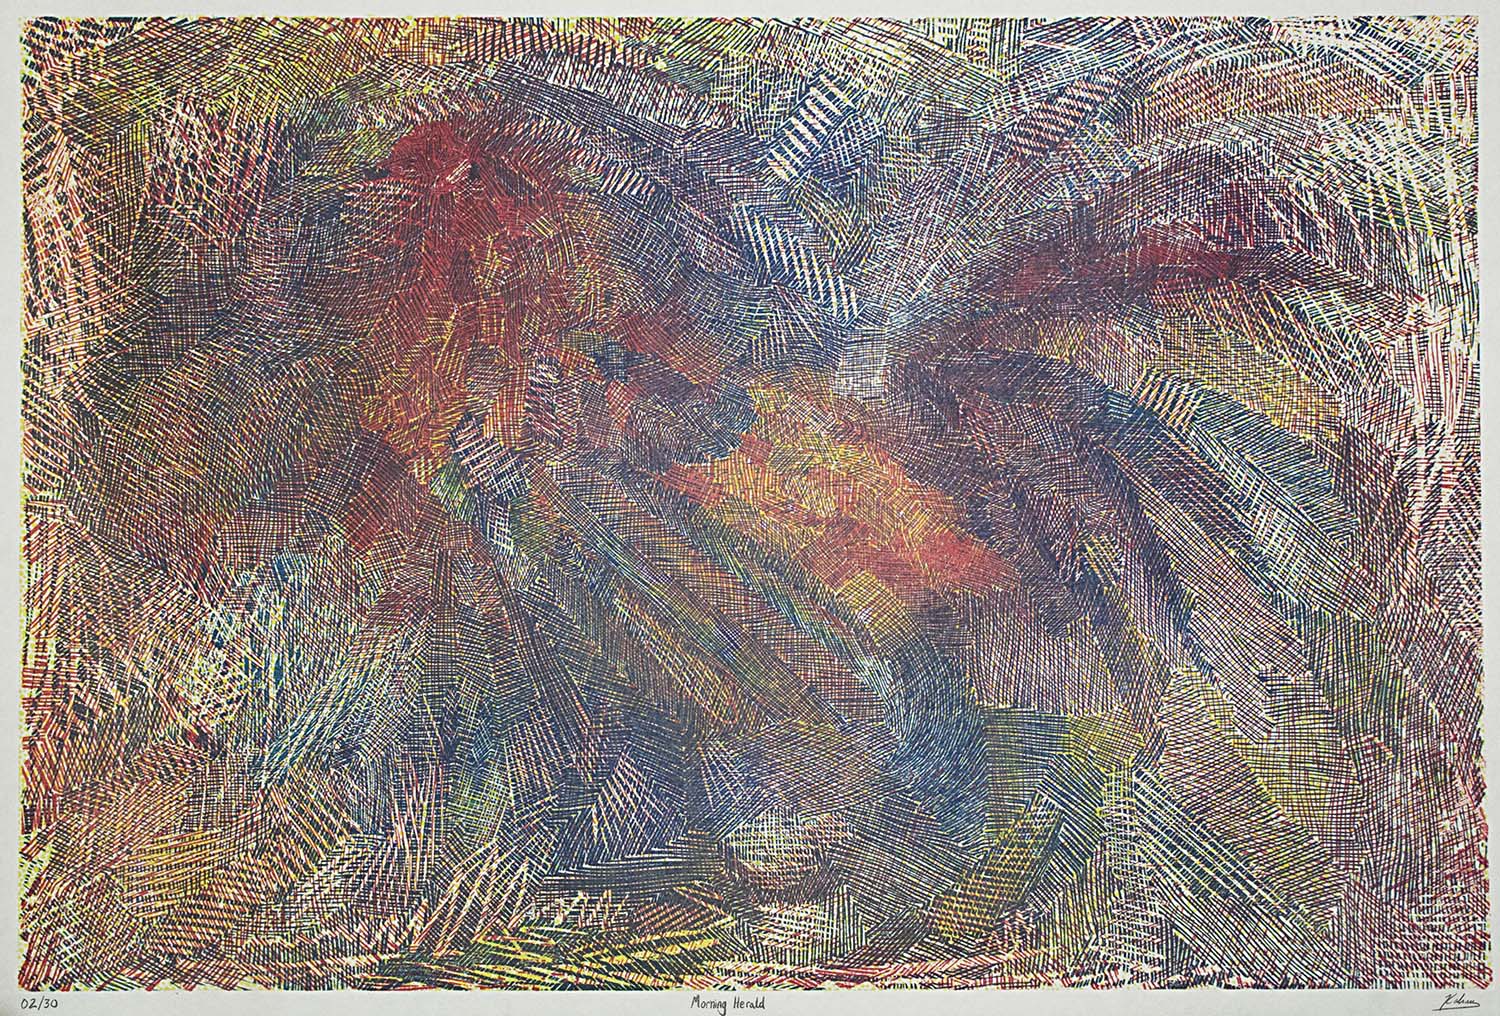
The piece uses hand-drawn textures that have been machine carved into the woodblock and hand-printed. There is a figure in the image, its form composed of fragmented segments, each filled with unique patterns that convey movement and rhythm. This layered approach reflects the natural world’s complexity, while the bright colors evoke the warmth and optimism of dawn. As the cockerel stands as a symbol of awakening, Morning Herald celebrates the dynamic beauty of morning light and the promise of a fresh start.
—“Making of the print – Initial Sketches”—
I start off with a reference photo, sketching over it to help me compose my ideas.
Adding some more detail in a technique that i can create more of an impression in the final woodcut print.
—“Dividing my drawing into segments”—
I divide the sketch into segments with a clear boundary. These fragments will be easier to fill with custom textures.
—“Filling the segments with lines”—
An animation of the textures that are drawn , and then layered over one another to create a composition.
—“Testing”—
Carving my drawings on to a block, the example in the video is a test being done on a plastic sample, but i predominantly use woodblocks
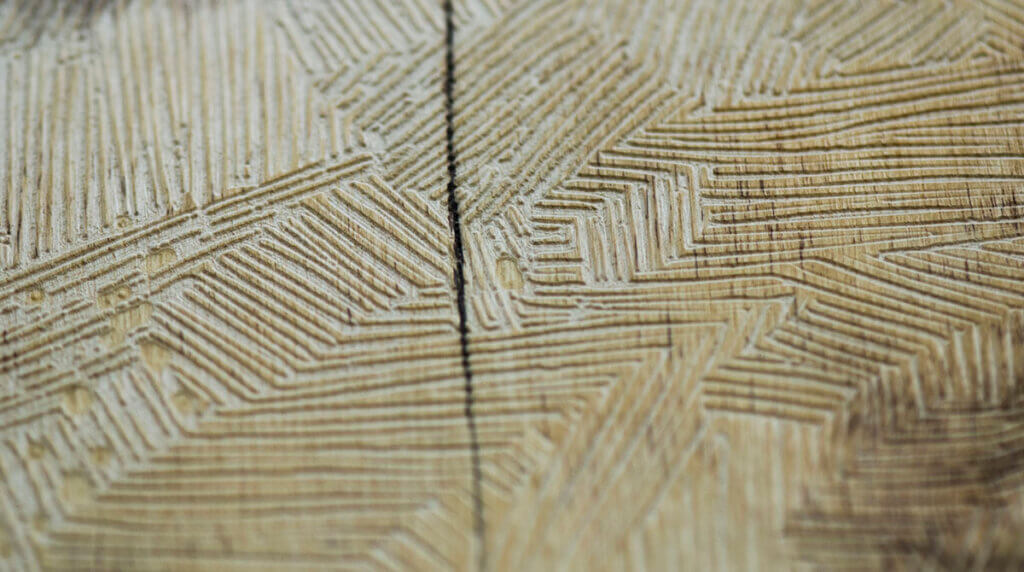
This is what a finished block looks like after its been carved
—“Carvings”—
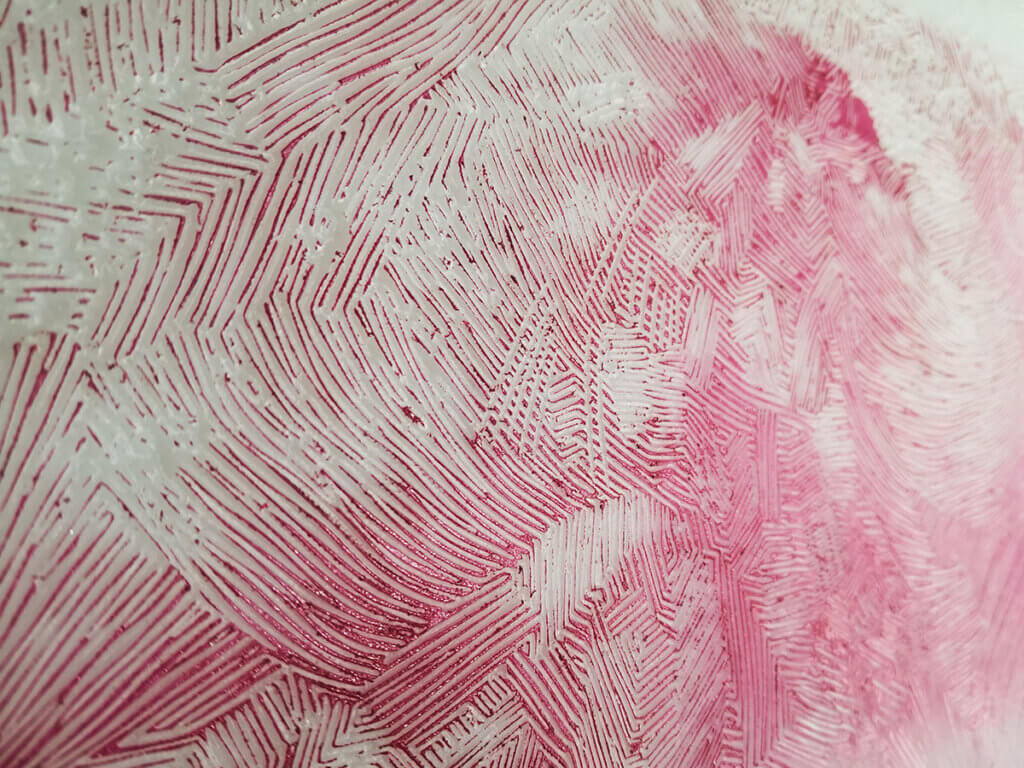
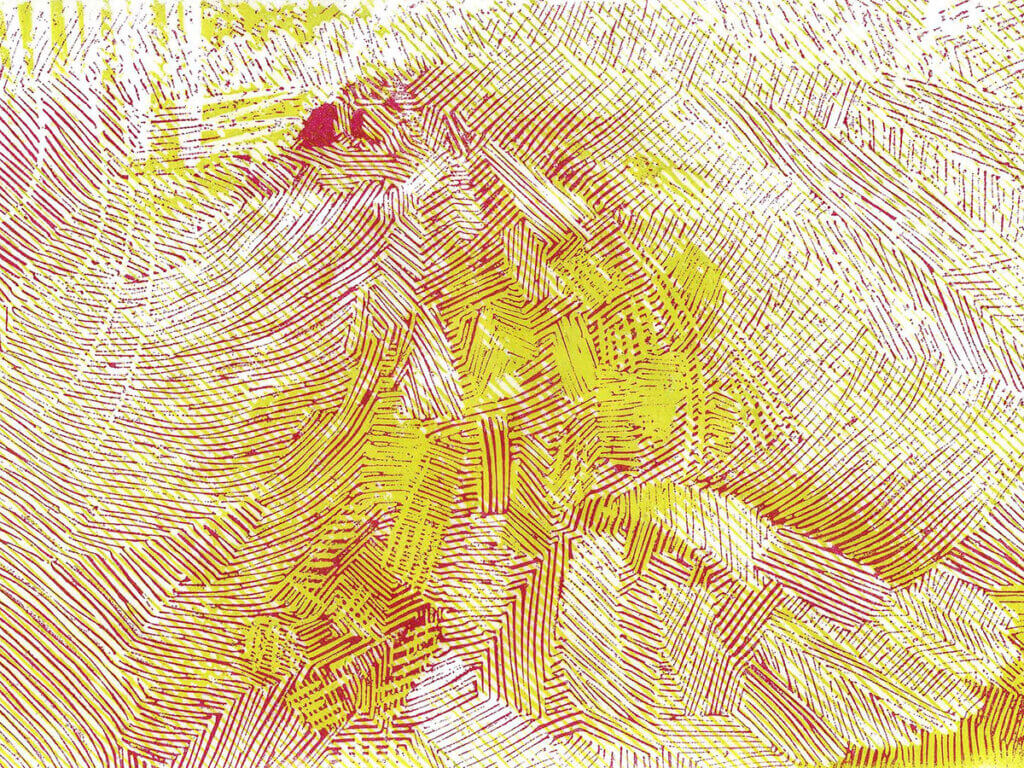
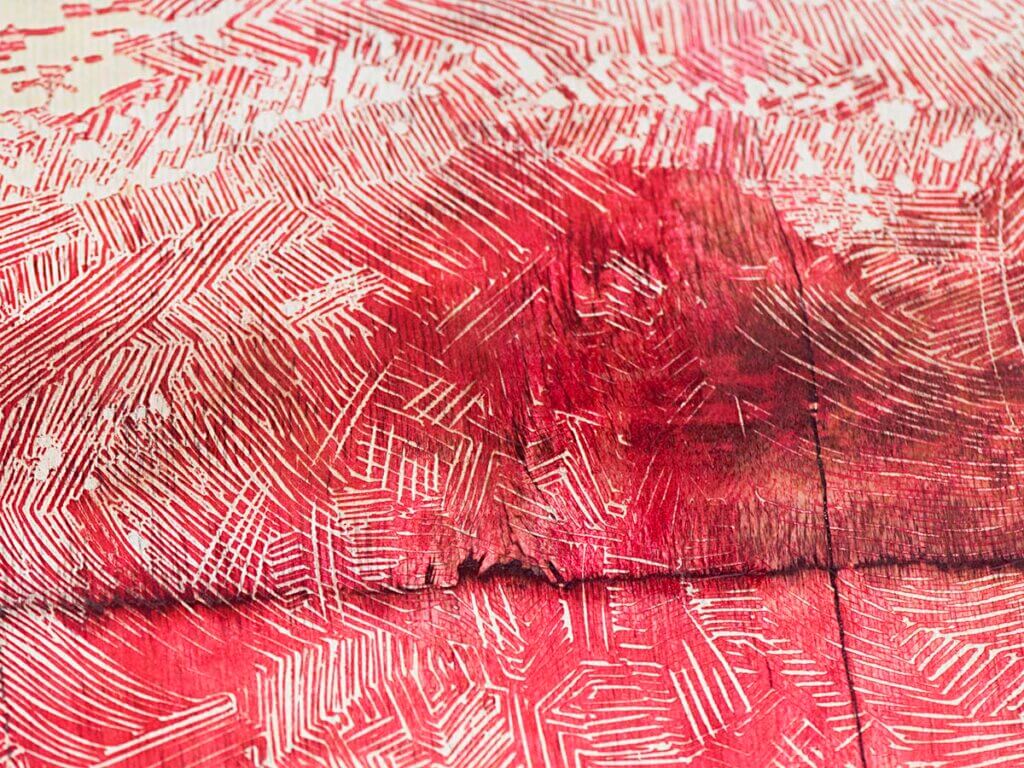
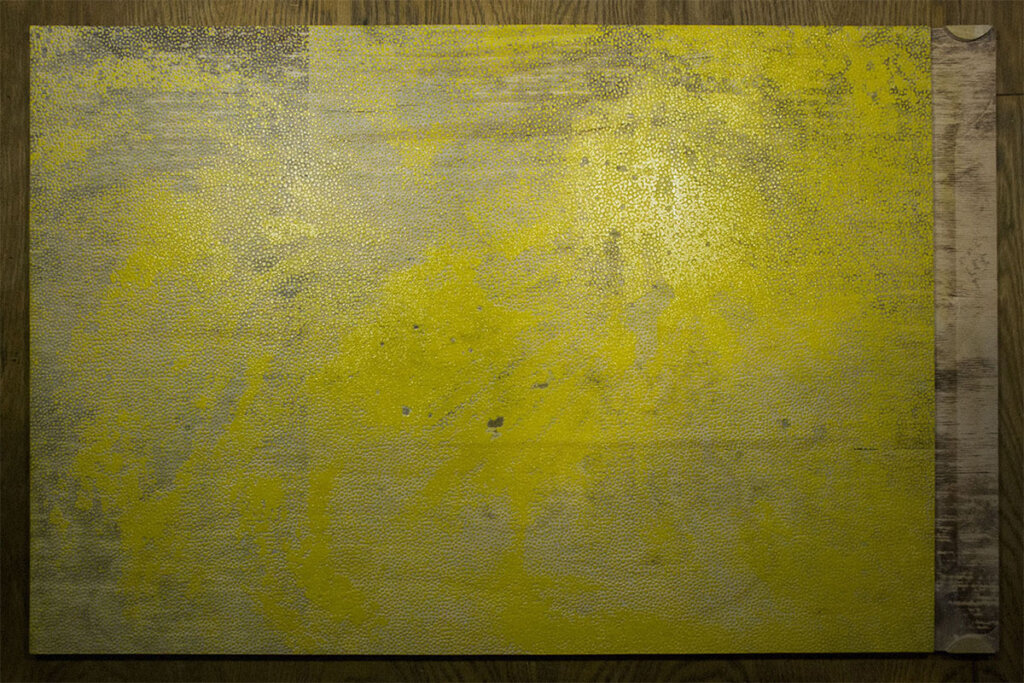
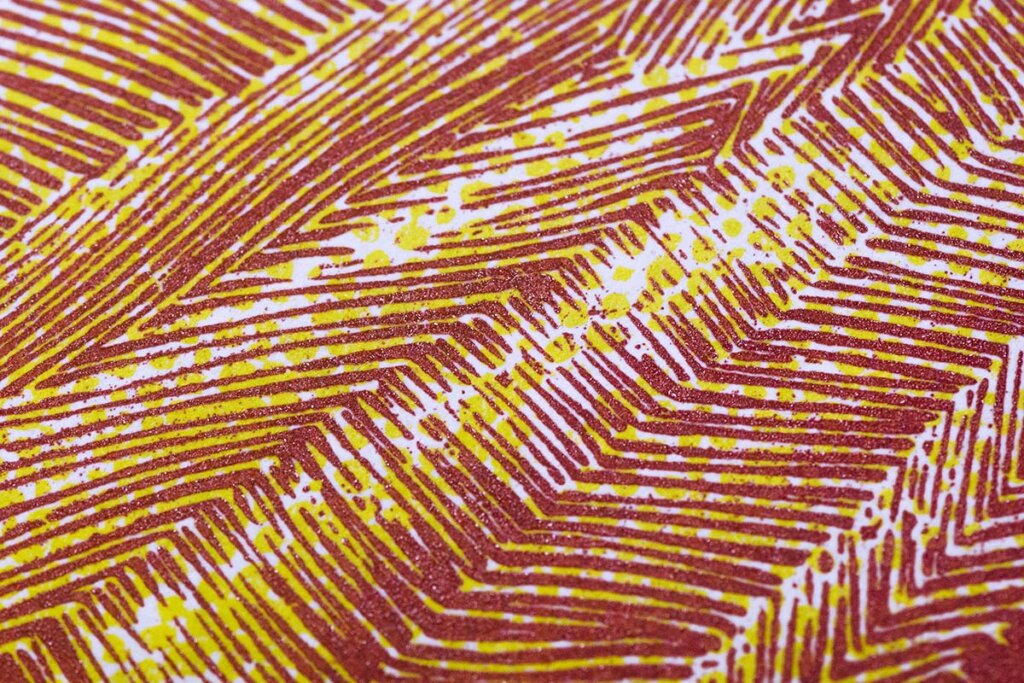
The red block, inked and ready for a print. It is evident at this stage that i have carved a bit too deep.
Went ahead and did a test print. The image actually looks great if left like this. But i know there isnt enough red on the paper for the final composition to work.
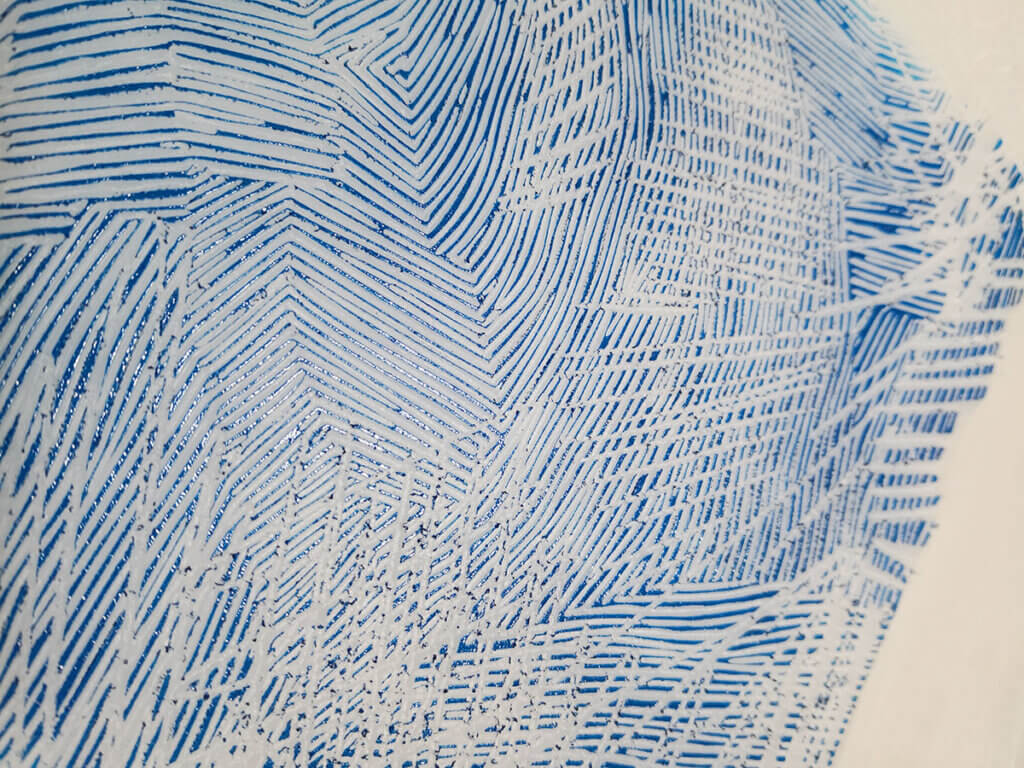
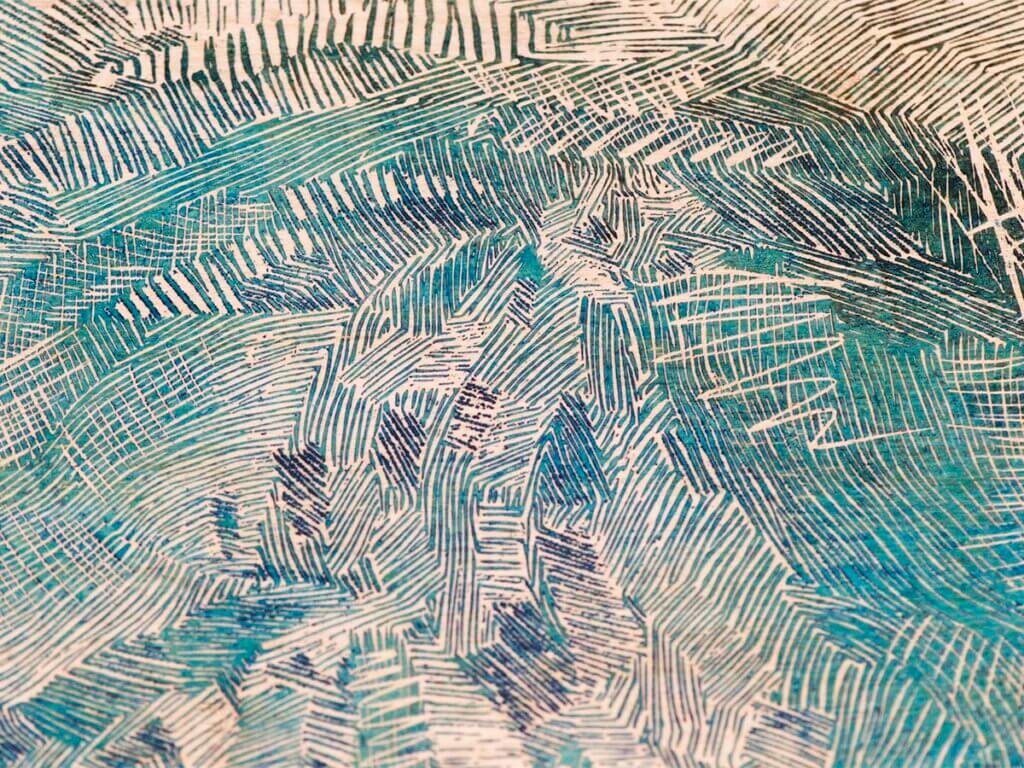
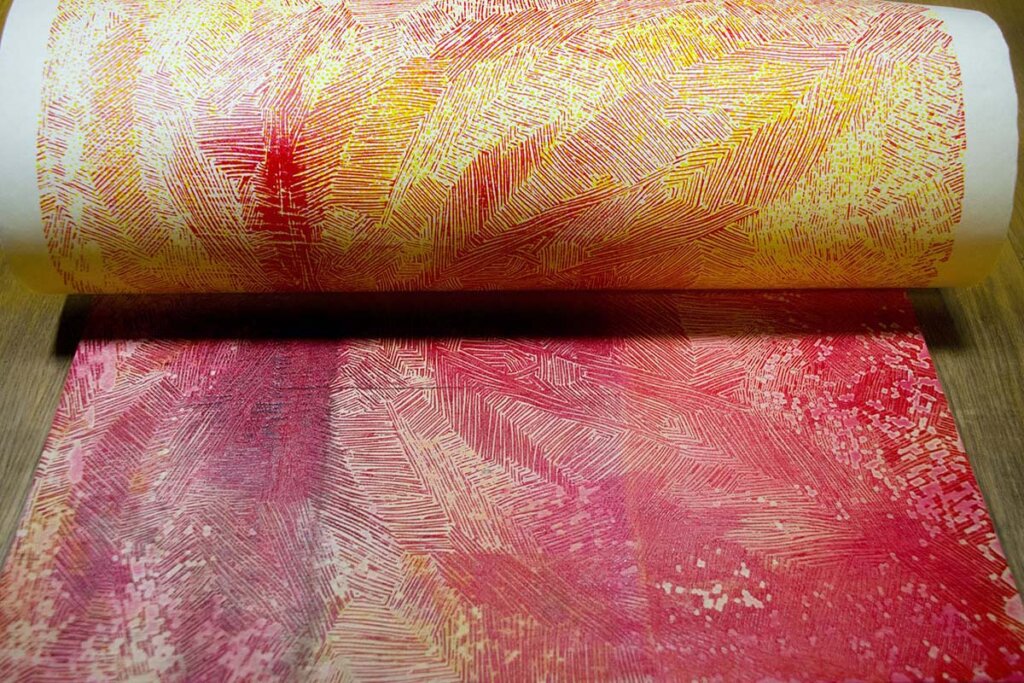
Blue block, inked up and will be applied over the red.
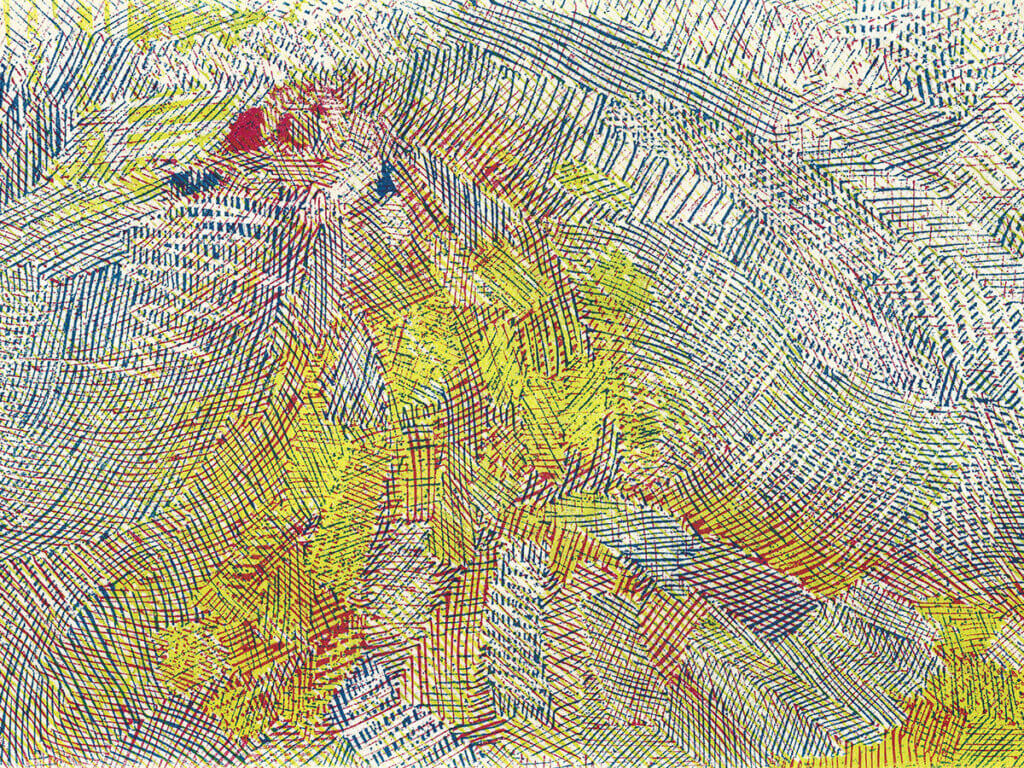
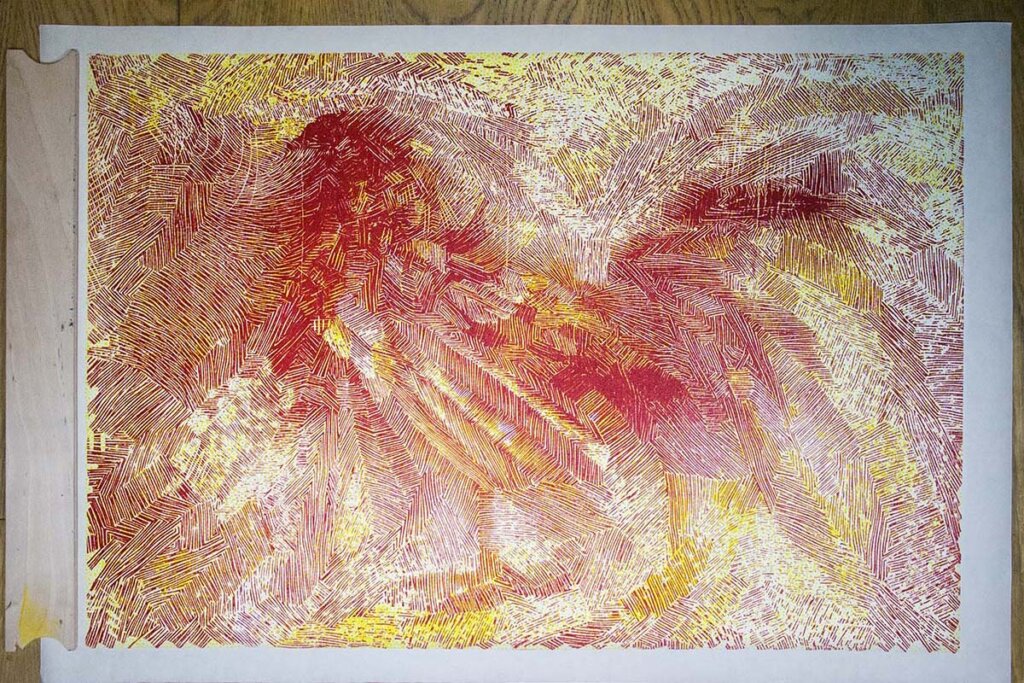
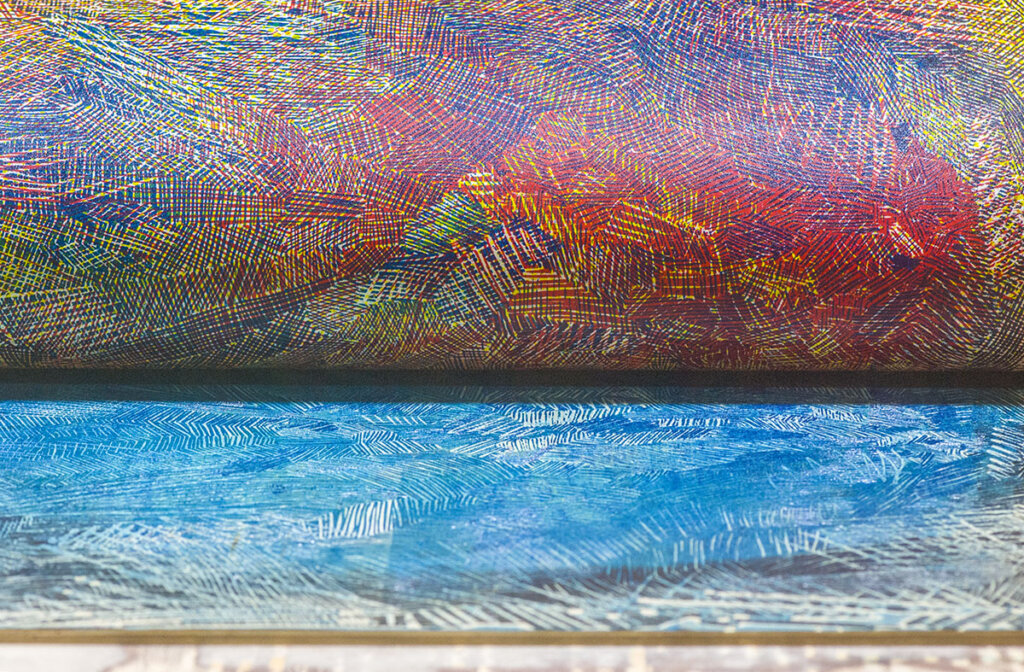
Relief print. taken from the two blocks. At this point, its clear that ive carved too deep. Before i critique this piece, lets look at the positives. The carving and relief print accurately represents the hand drawn qualities of lines that i used. The end result also has merit in terms of the protraying the process. However, it also looks exactly the oppossite of what was in my head. The inspiration for this piece was a combination of impressionism, and by bringing together fragmented segments, which create the composition for the subject. This falls short of doing so and therefore, reluctantly i will have to take this back to the drawing board. I will start by recarving the relief blocks.
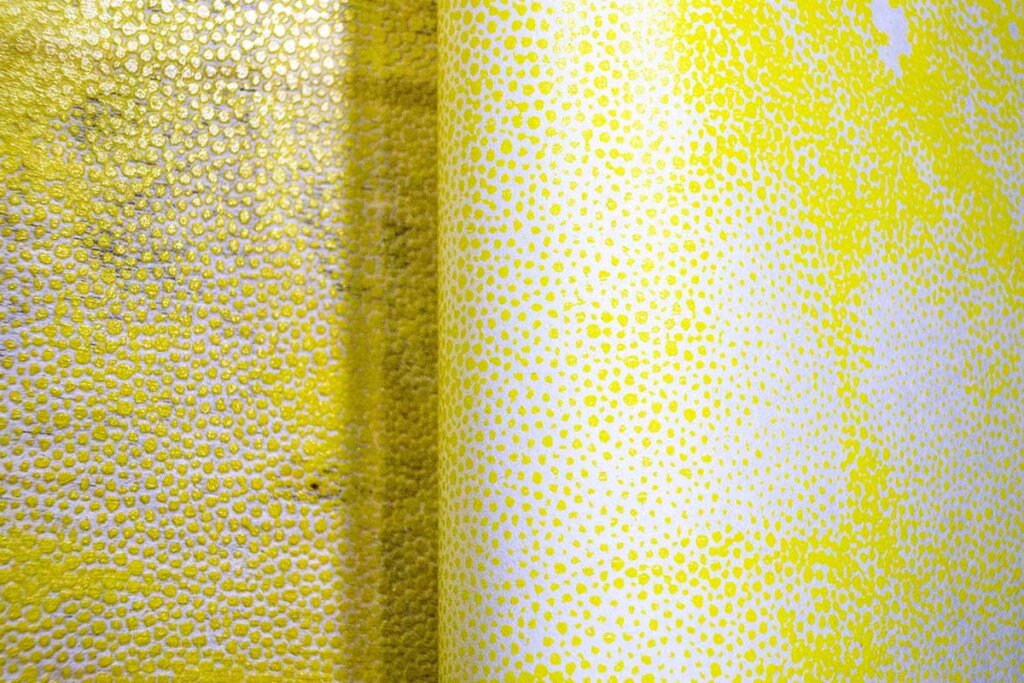
—“Microscopy”—
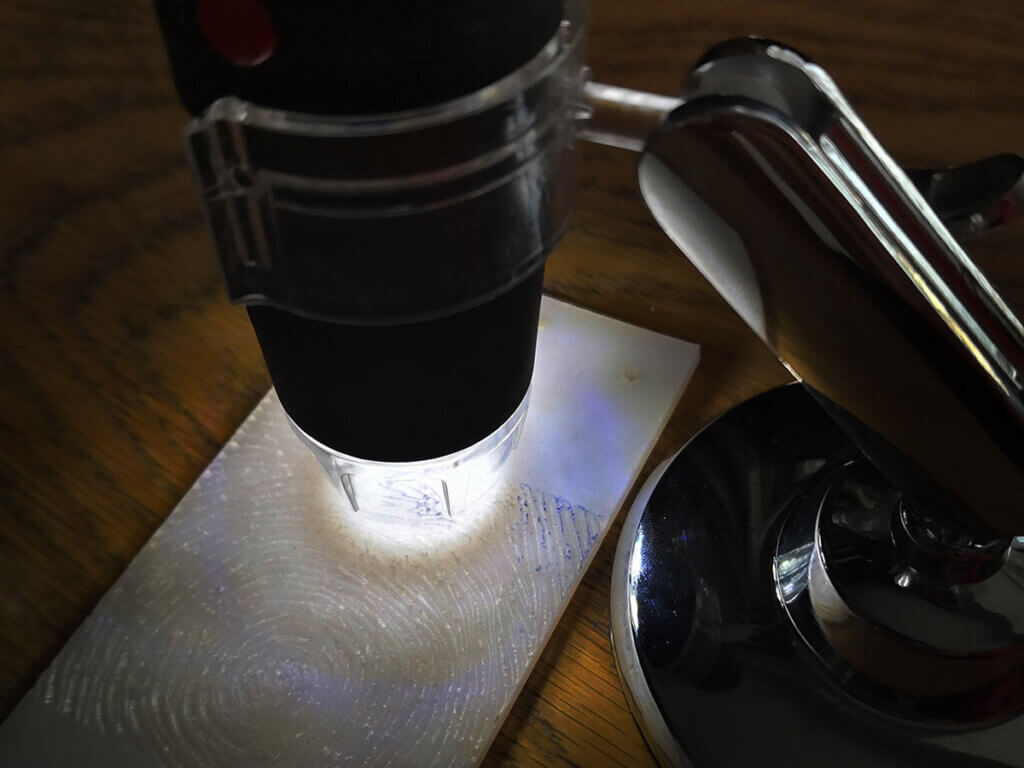
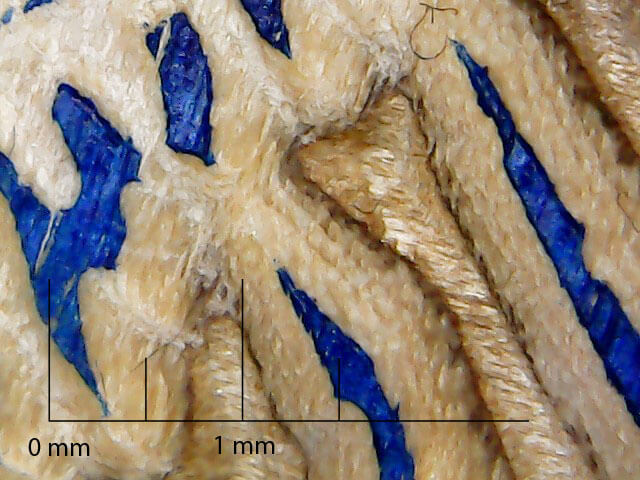
Sticking it under a microscope
Under a microscope, the blue areas represent the inked surface of the carved block. I directly compare these dimensions to my drawings and adjust cutting parameters accordingly
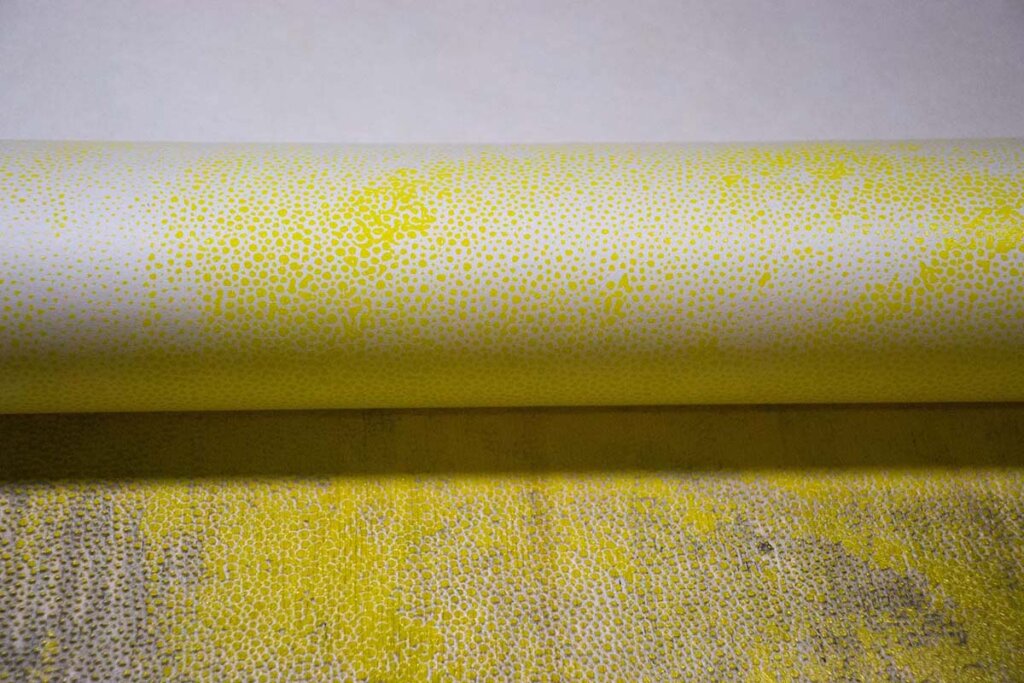
—“Starting again”—
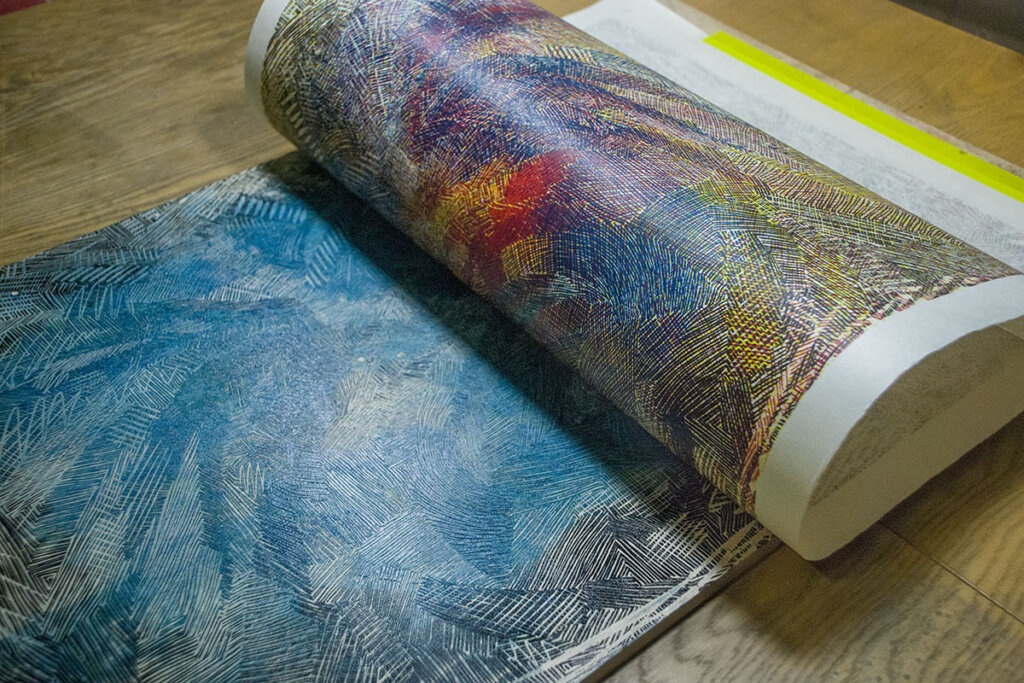
Carved another woodblock. This one with shallow cutting depth.
This image is more of what i had in mind, i needed more pigment to be deposited onto the paper.